Skip to Main Content

Colorist on Call: How to Cover Gray Roots with Highlights

by Madison Reed April 15, 2020

How to cover gray roots on highlighted hair

Image by Madison Reed

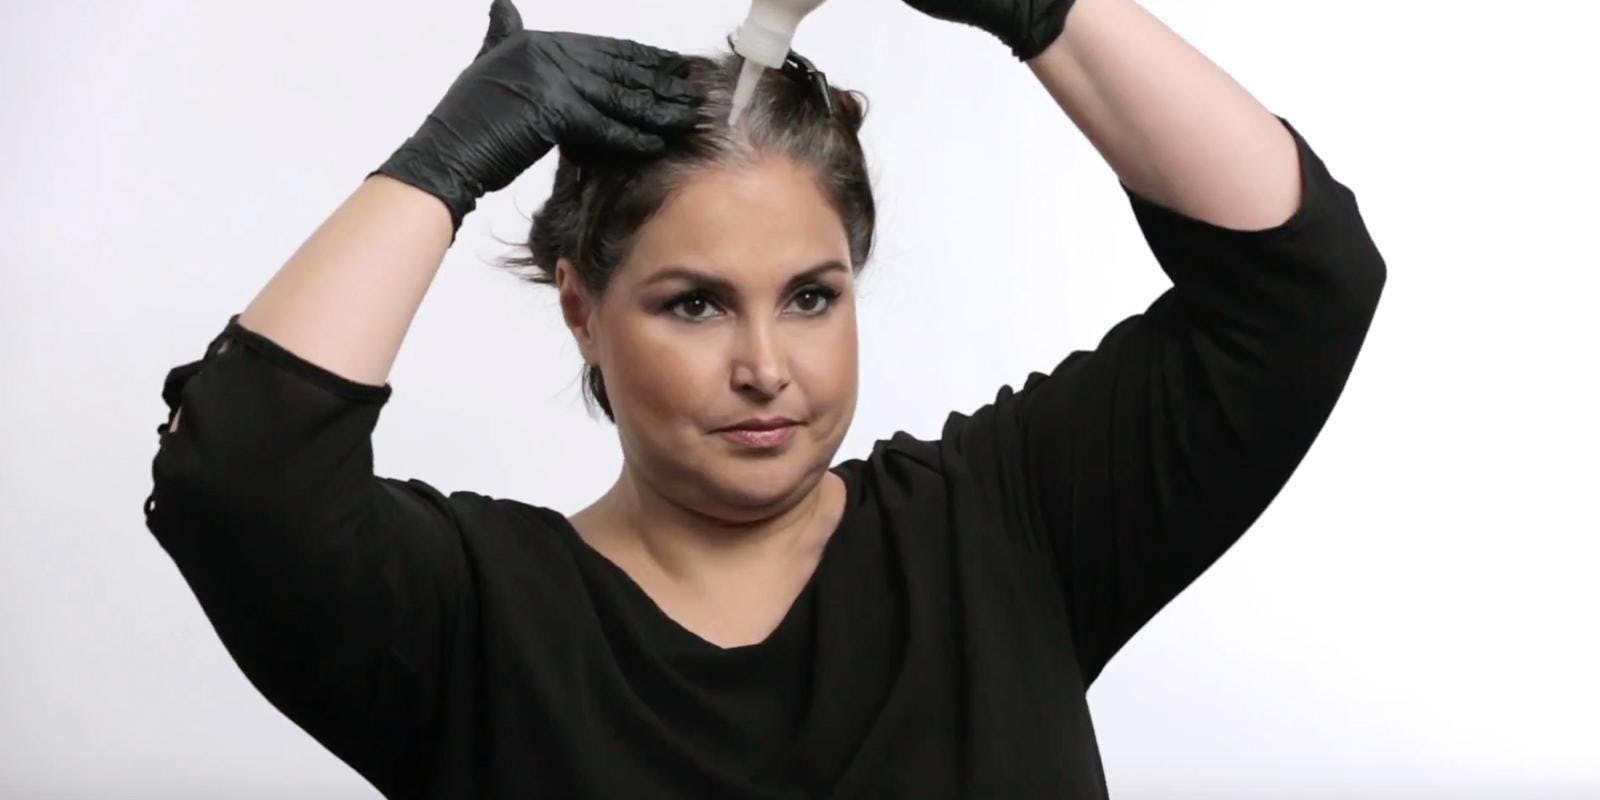
Seeing as how we are all stuck at home for the time being, we have launched a series of Facebook Live events called Colorist on Call. Have you seen any? In each episode, one of our colorists will be hosting a live video showing you how to color your own hair at home. This week, we had our colorist Krista show everyone how to cover their gray roots on highlighted hair at home. Talk about a Master Class...the video may not be “live” anymore, but you can still watch as Krista shows you just how easy it is.


What Color to Use to Cover Gray Roots on Highlights?

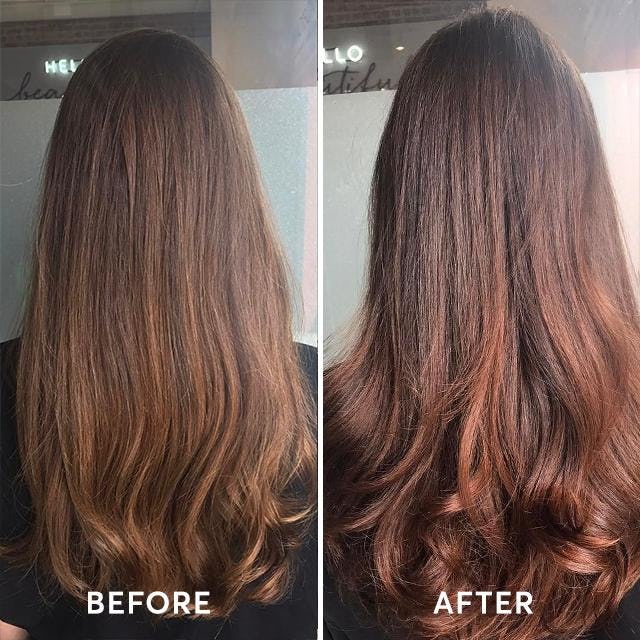
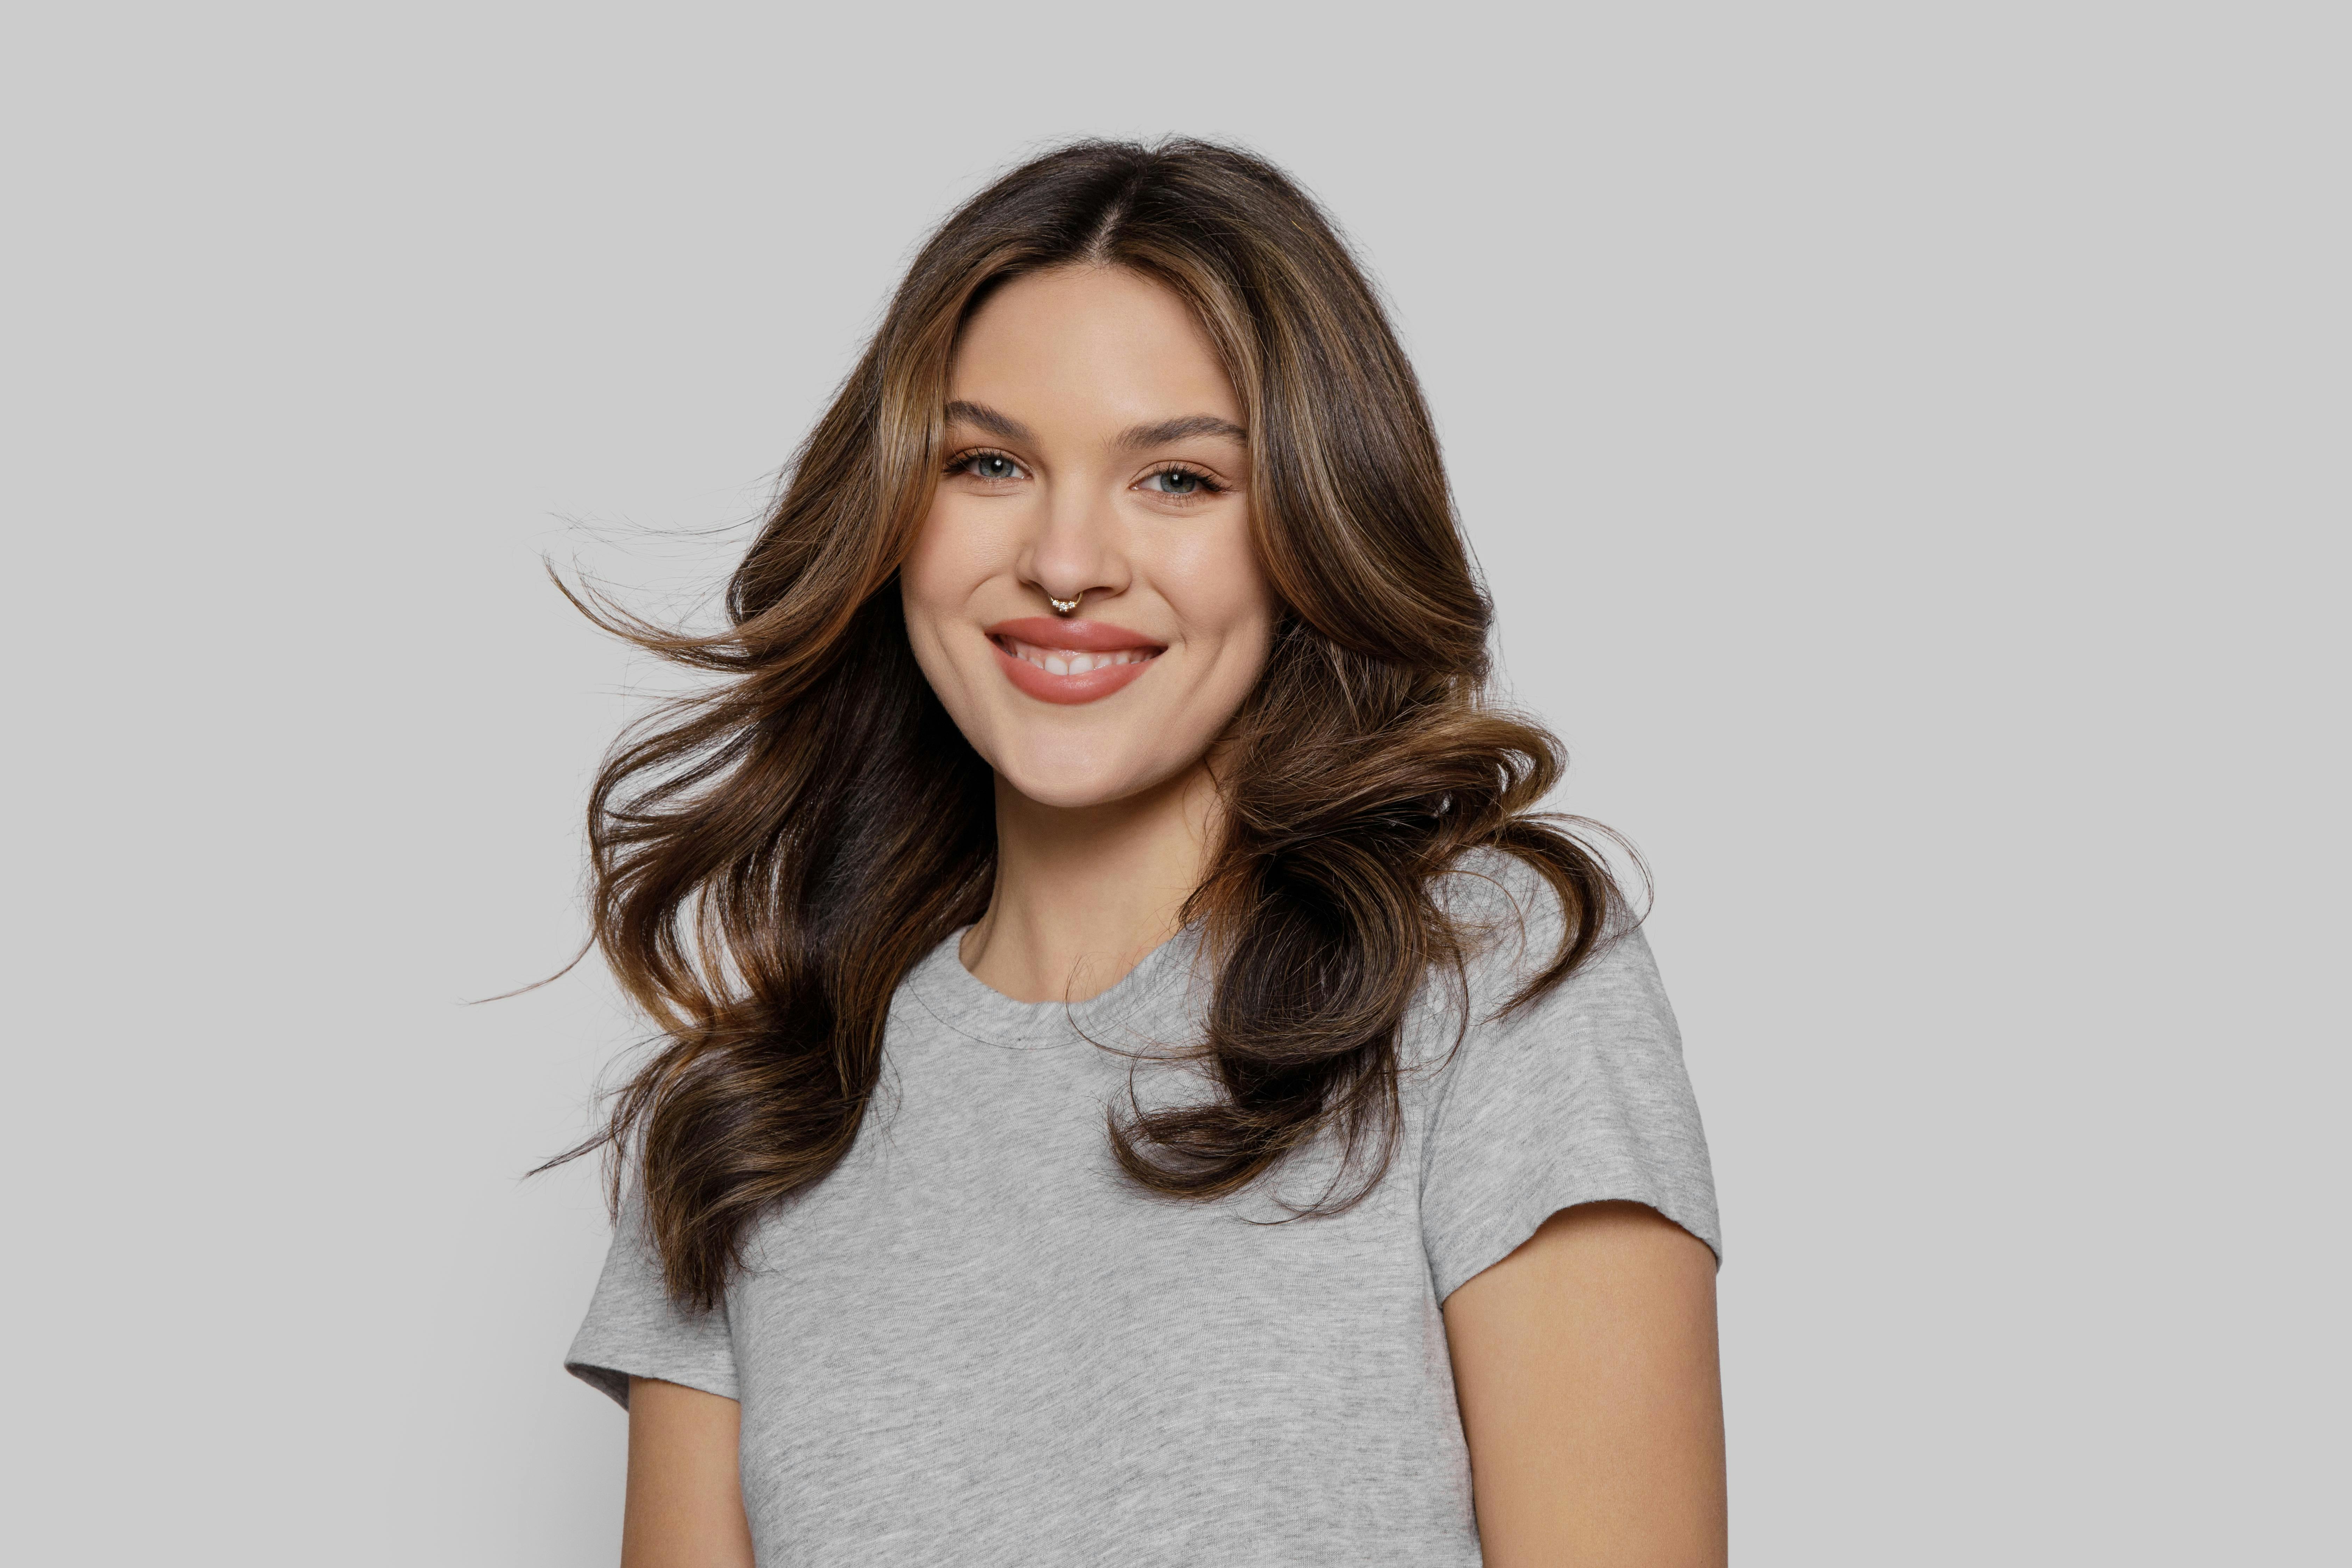
Krista has gorgeous blonde, highlighted hair courtesy of our Light Works® Balayage Highlighting Kit, but she also gets gray roots pretty quickly. In the video, Krista uses Radiant Cream Color in Umbria Light Brown 7.5NNA to touch up her roots. This is a neutral brown that covers even the most stubborn, resistant grays. Here’s a Pro Tip for you: using a slightly darker shade at your roots makes your hair look deeper, more dimensional, even for blondes. Sometimes this is called root shadowing. 

carousel-video-chat

Get a free Video Color Consultation with a Licensed Colorist Concierge.

Book Now

Application Tools to Cover Gray Roots on Highlighted Hair

In the video, you’ll notice that Krista uses a bowl and brush to mix and apply the color on gray roots. You can absolutely apply using just the nozzle of your applicator bottle. Krista simply prefers the bowl and brush for more precision, dividing her hair into thin sections using the pointy end of the brush. You can either order a bowl and brush, or use one from home--just make sure they are non-metallic.


Bowl and brush to cover gray hair without ruining highlights

How to Touch Up Gray Roots without Ruining Highlights: Tips and Tricks

While it can seem intimidating to cover gray roots on highlights at home, particularly coloring the back of your own head, Krista shows you just how easy it actually is. Her biggest tip is organization. Begin by dividing your hair into 4 sections using non-metallic clips. Start in the front. Krista’s grays are most prominent at her front hairline, so she makes sure to start there, really saturating that area with color. The trick is to start coloring where you see the most gray, usually your natural part line or the front of your hairline.

What About the Rest of your Hair?

Even if you have highlights, you still need to touch up your roots every 3-4 weeks like Krista. But what about those gorgeous highlights on the mid-lengths and ends of your hair? To freshen up highlights and reduce brassiness, Krista uses both our Light Works® Toning Glaze in Sorrento, and Color Reviving Gloss in Crema, a purple-hued gloss that neutralizes any brassiness. 
 Crema color reviving gloss
Got an idea for a Colorist on Call video you’d like to see? Let us know in the comments. And as always—feel free to contact our Color Crew with any questions via phone or chat.
 
Stay safe, and happy coloring!

Share Your Photos: #MADISONREEDCOLOR